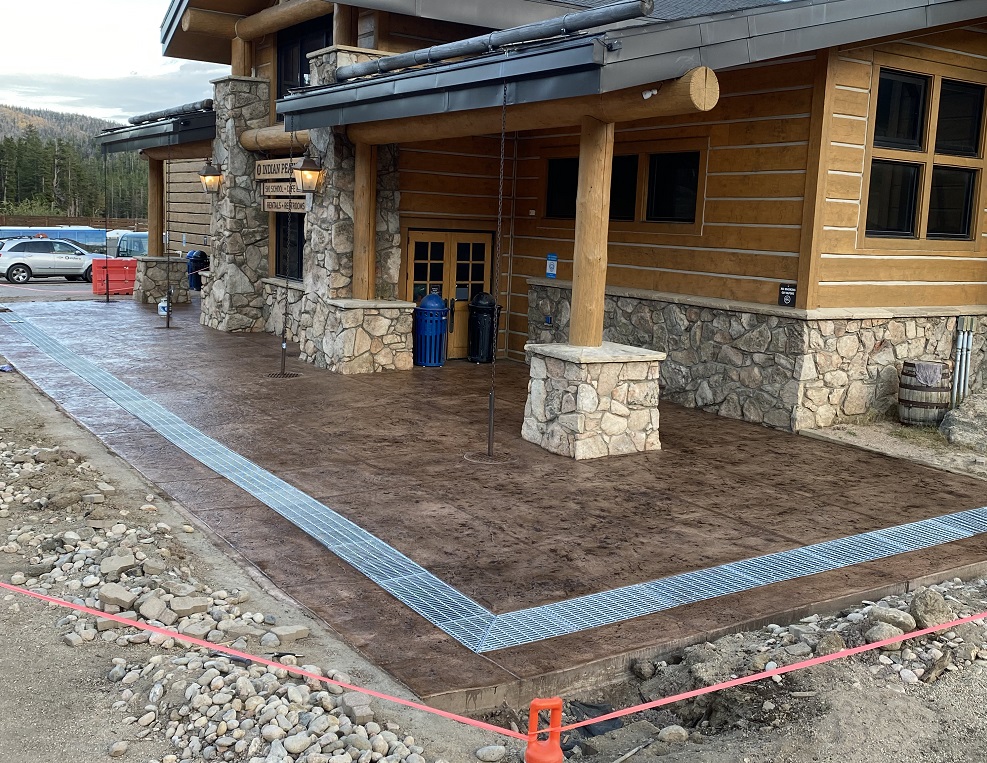
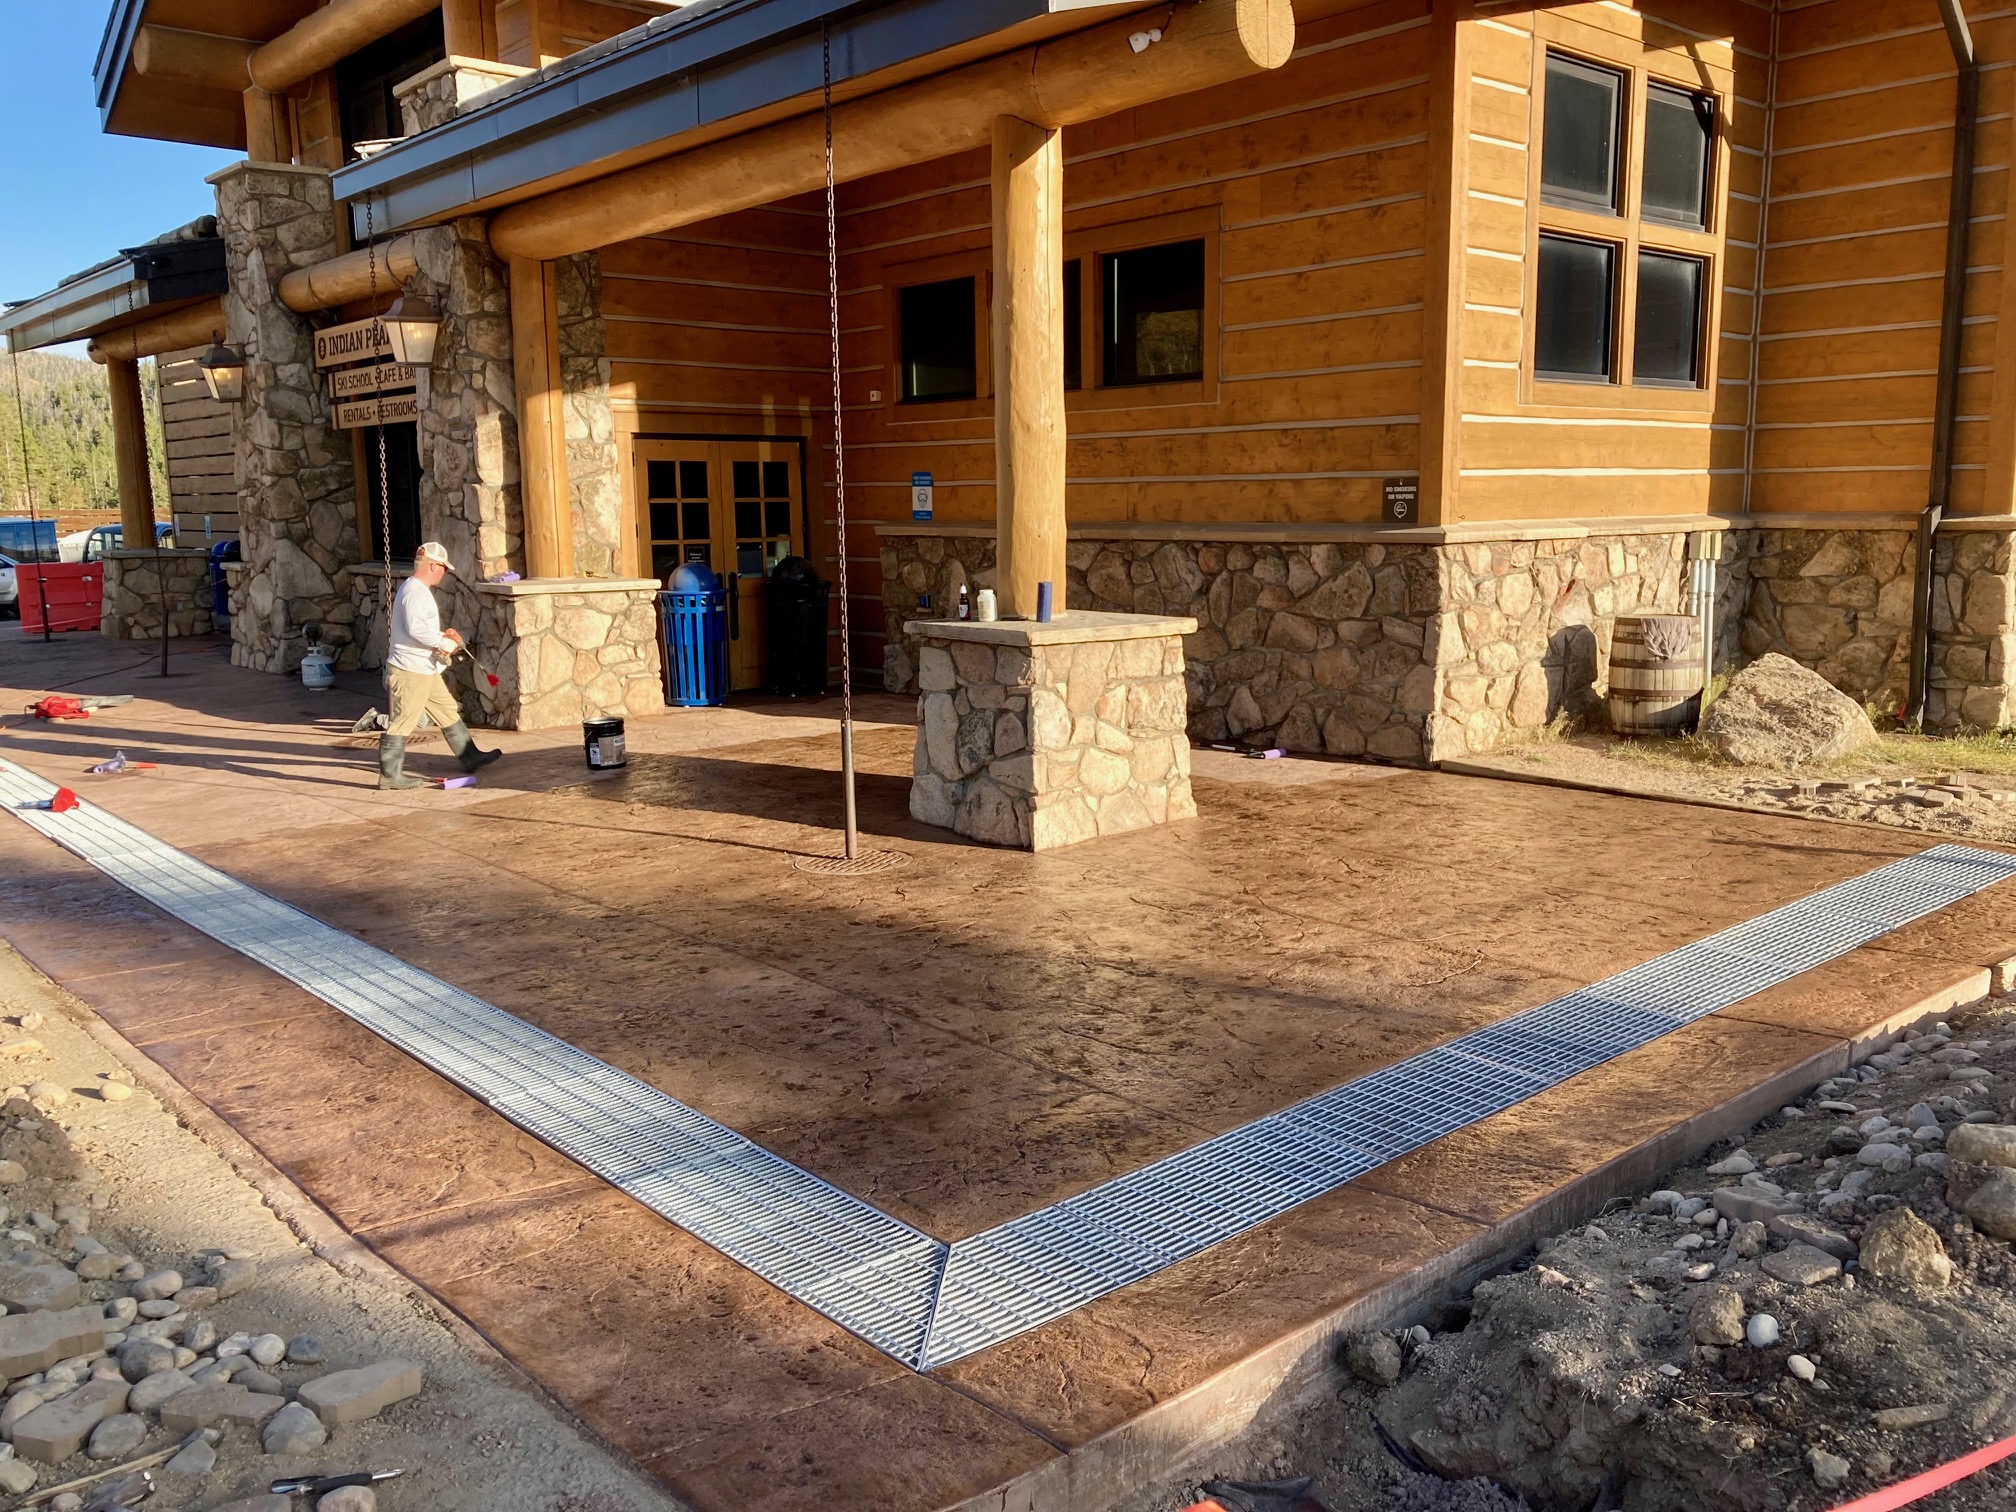
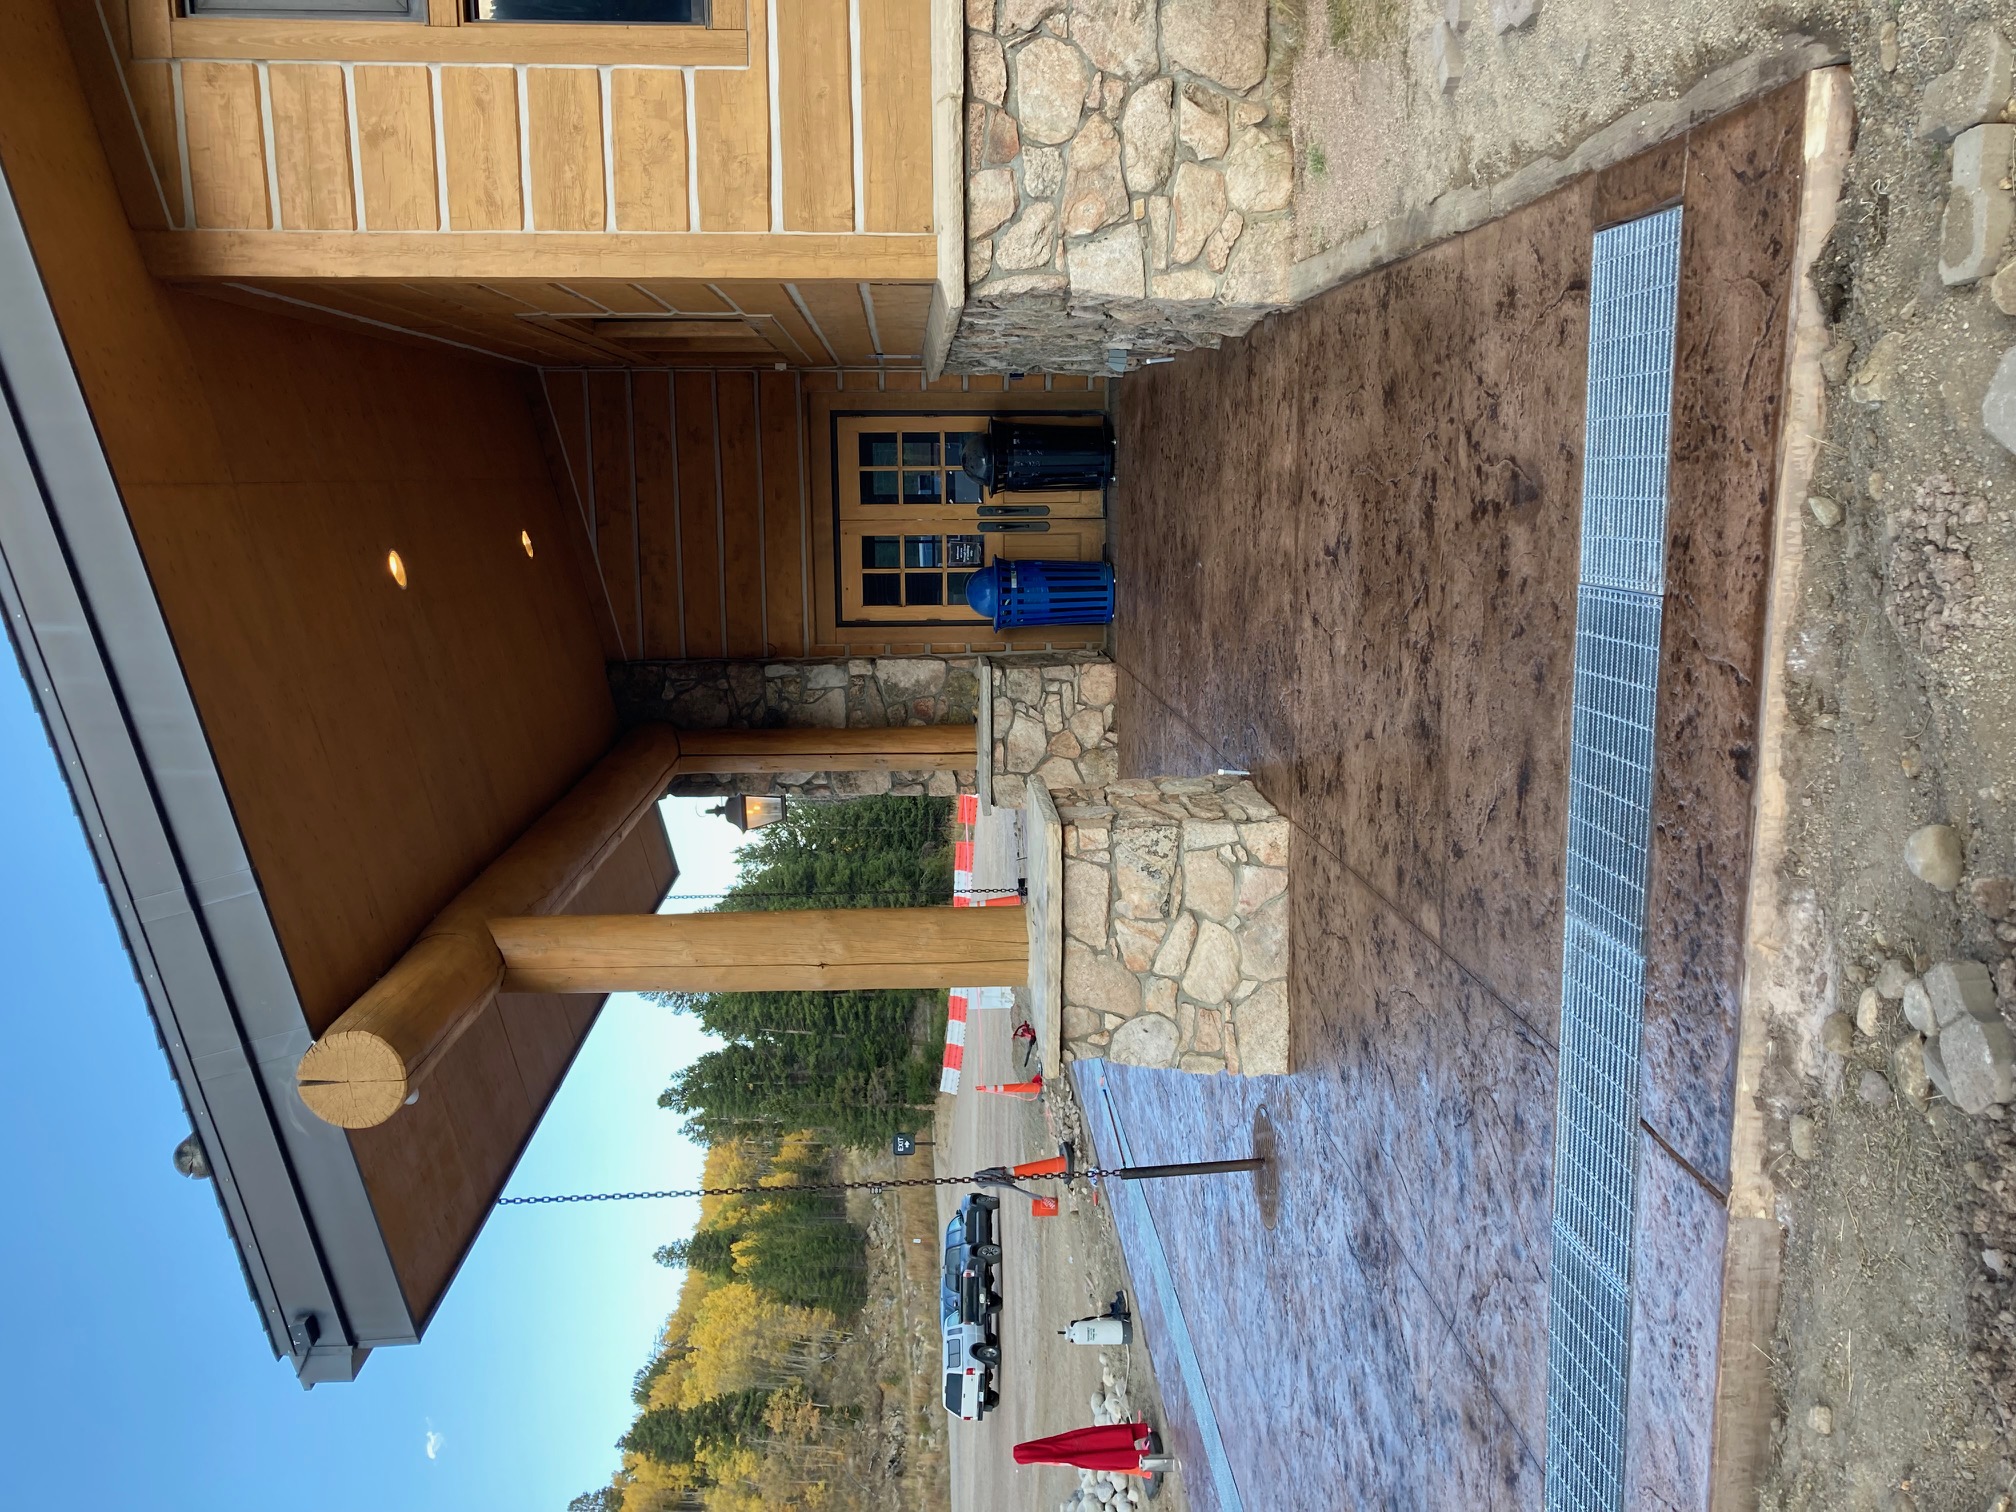
We completed a 2000 SF stamped concrete project at the Indian Peaks Lodge at the Eldora Ski Mountain. We replaced a brick entrance, changed the grade and added a drain to fix several drainage issues.
Going up into the mountains or foothills for work is our guy’s favorite place to be in the hot summer months. We have done a few jobs in the past for Eldora Mountain giving us familiarity with the area, setup and staff. This familiarity allowed a complicated concrete project to run smooth and efficient from start to finish for our concrete company. The Indian Peaks Lodge was in need of a new entrance. Not only did it require a facelift, a significant drainage solution was necessary. The old solution for drainage created a “skating rink” making walking in with ski boots a hazardous task.
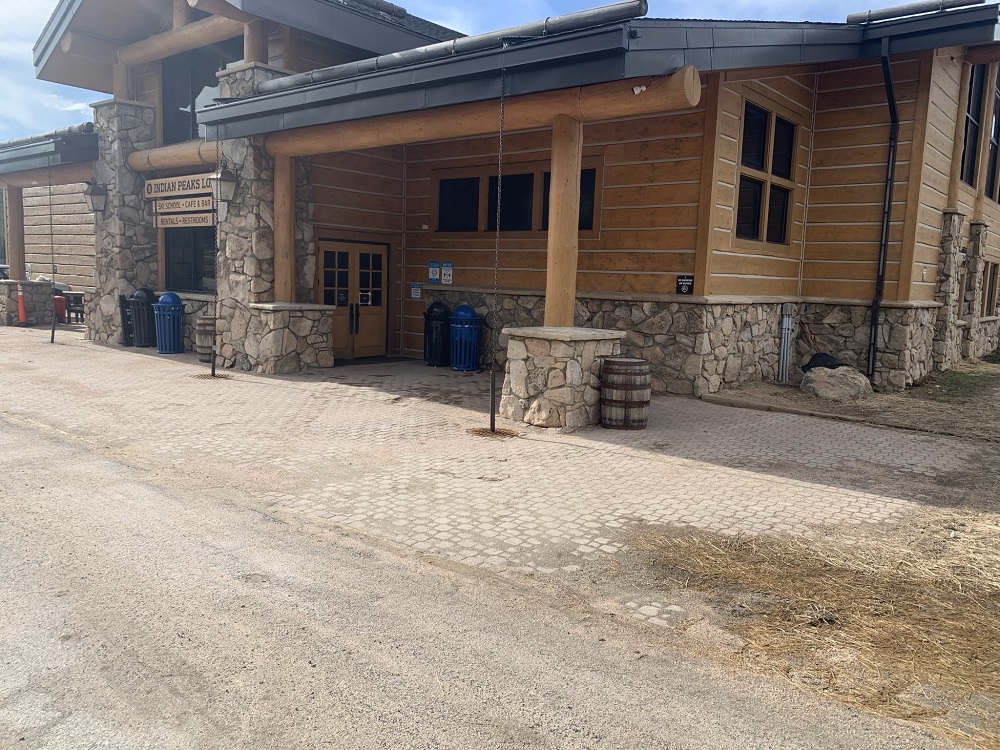
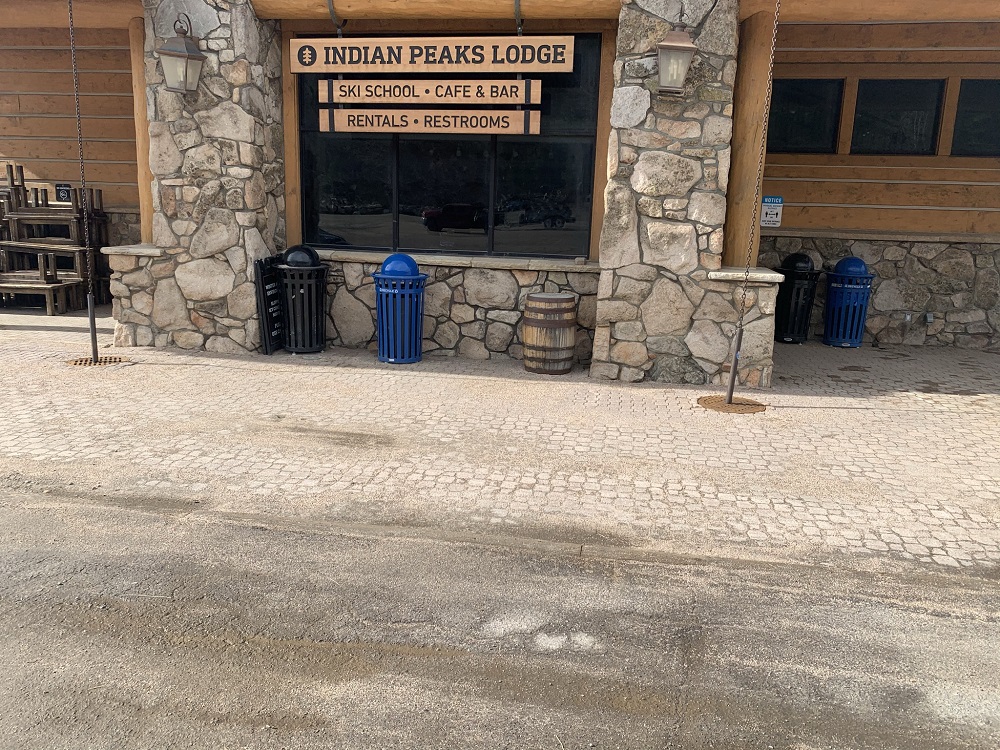
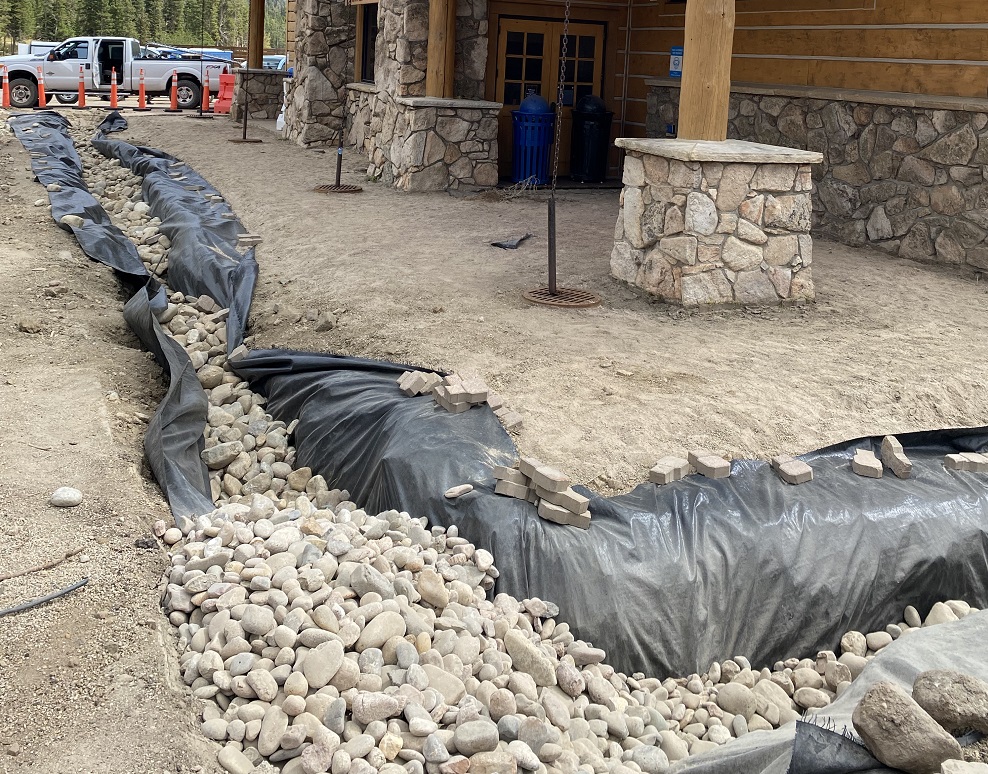
We tore out and hauled away the existing pavers as well as the sand/dirt underneath. Before road base and compacting we needed to dig a trench for a new French drain. The French drain was laid in place, covered with fabric and large rock. With the trench and drain completed we could begin the prepping portion of the project.
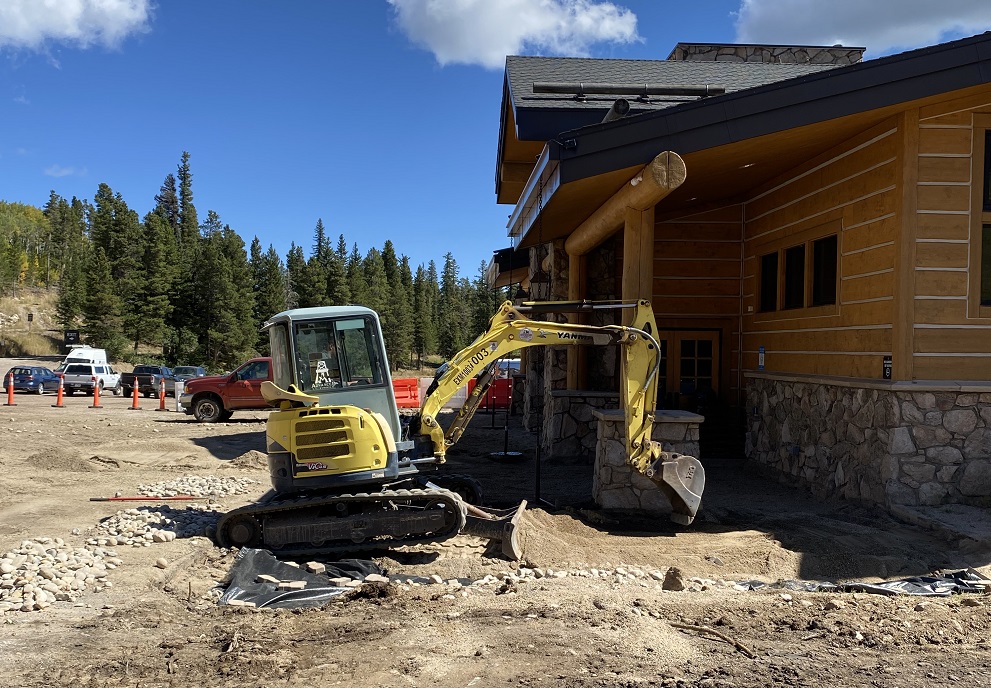
Using a sheepsfoot rolling compactor we compacted the existing dirt before hauling in 24 tons of class 6 road base, which was also compacted. With there being a trench, setting forms for the entrance pour would be tricky. It was important we did not put a stake through the French drain.
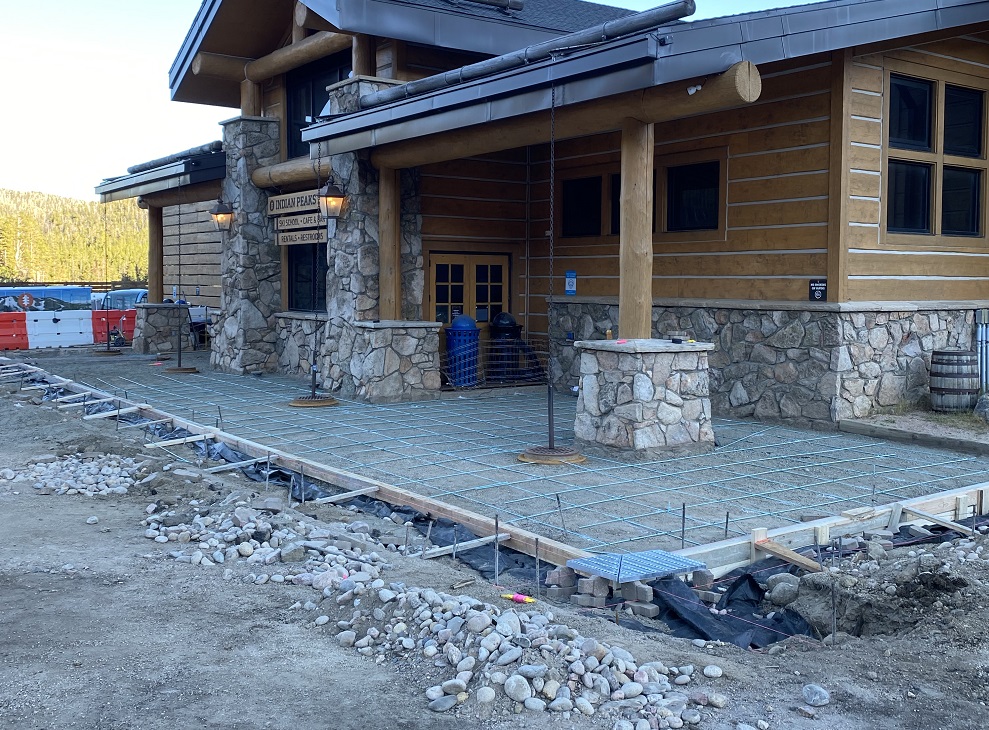
Once of the new entrance was poured there would be large grates placed between the entrance and parking lot. This required our forms to be perfectly straight so the grates would fit. To set forms it took a lot of patience and kickers to hold the forms in place.
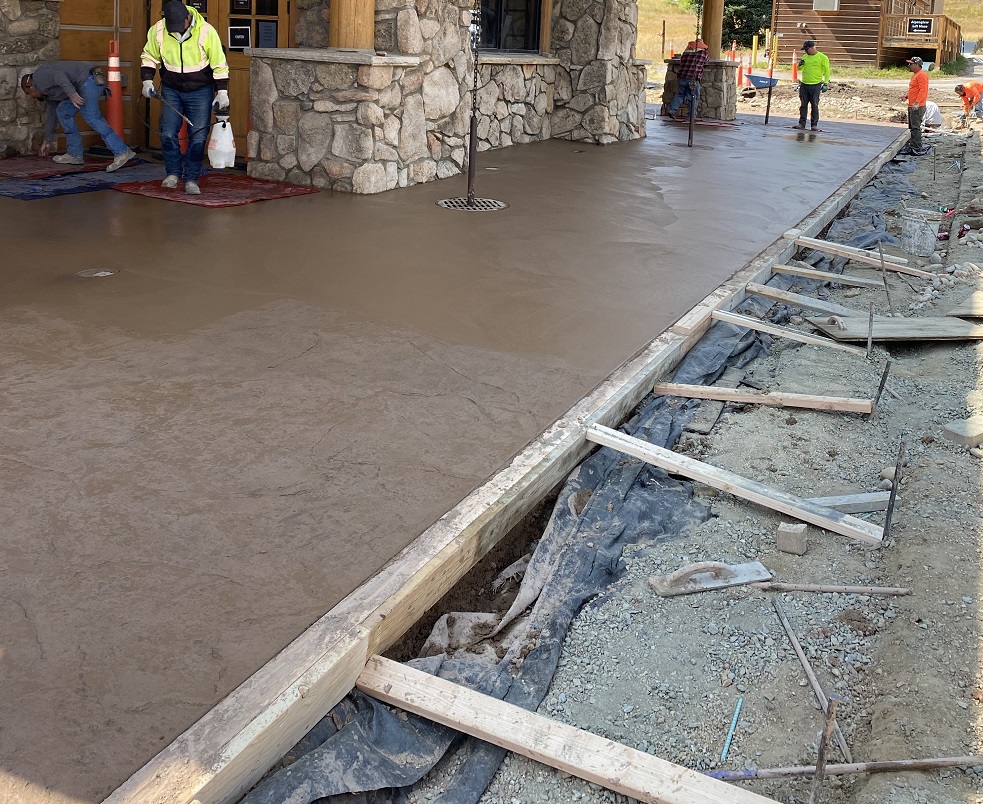
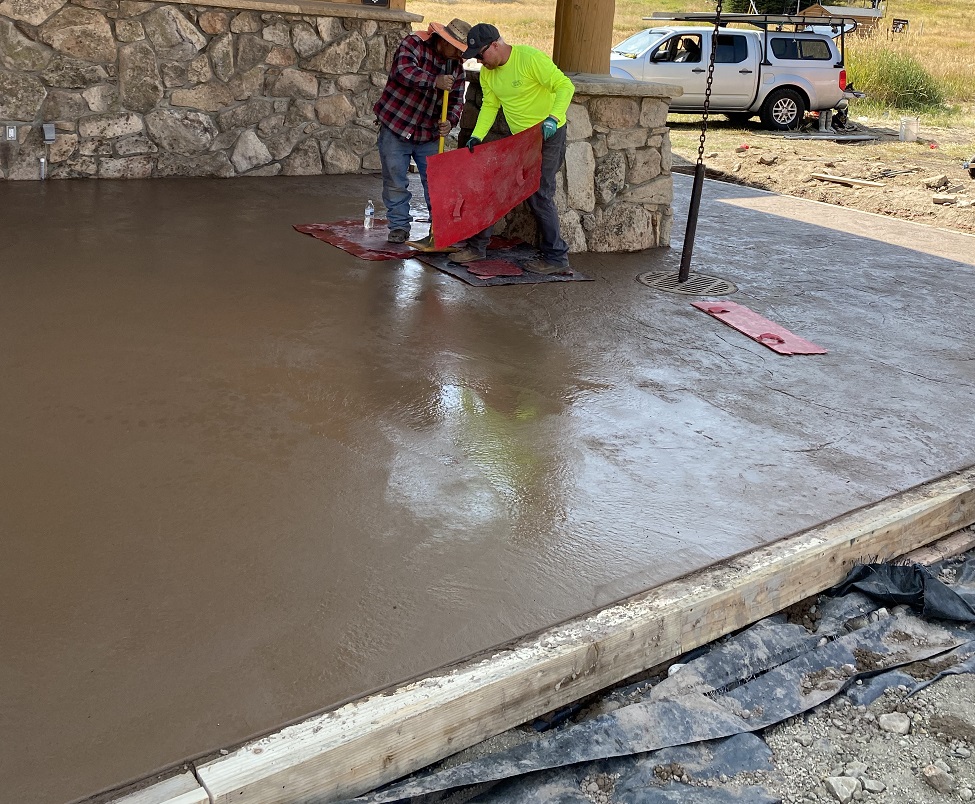
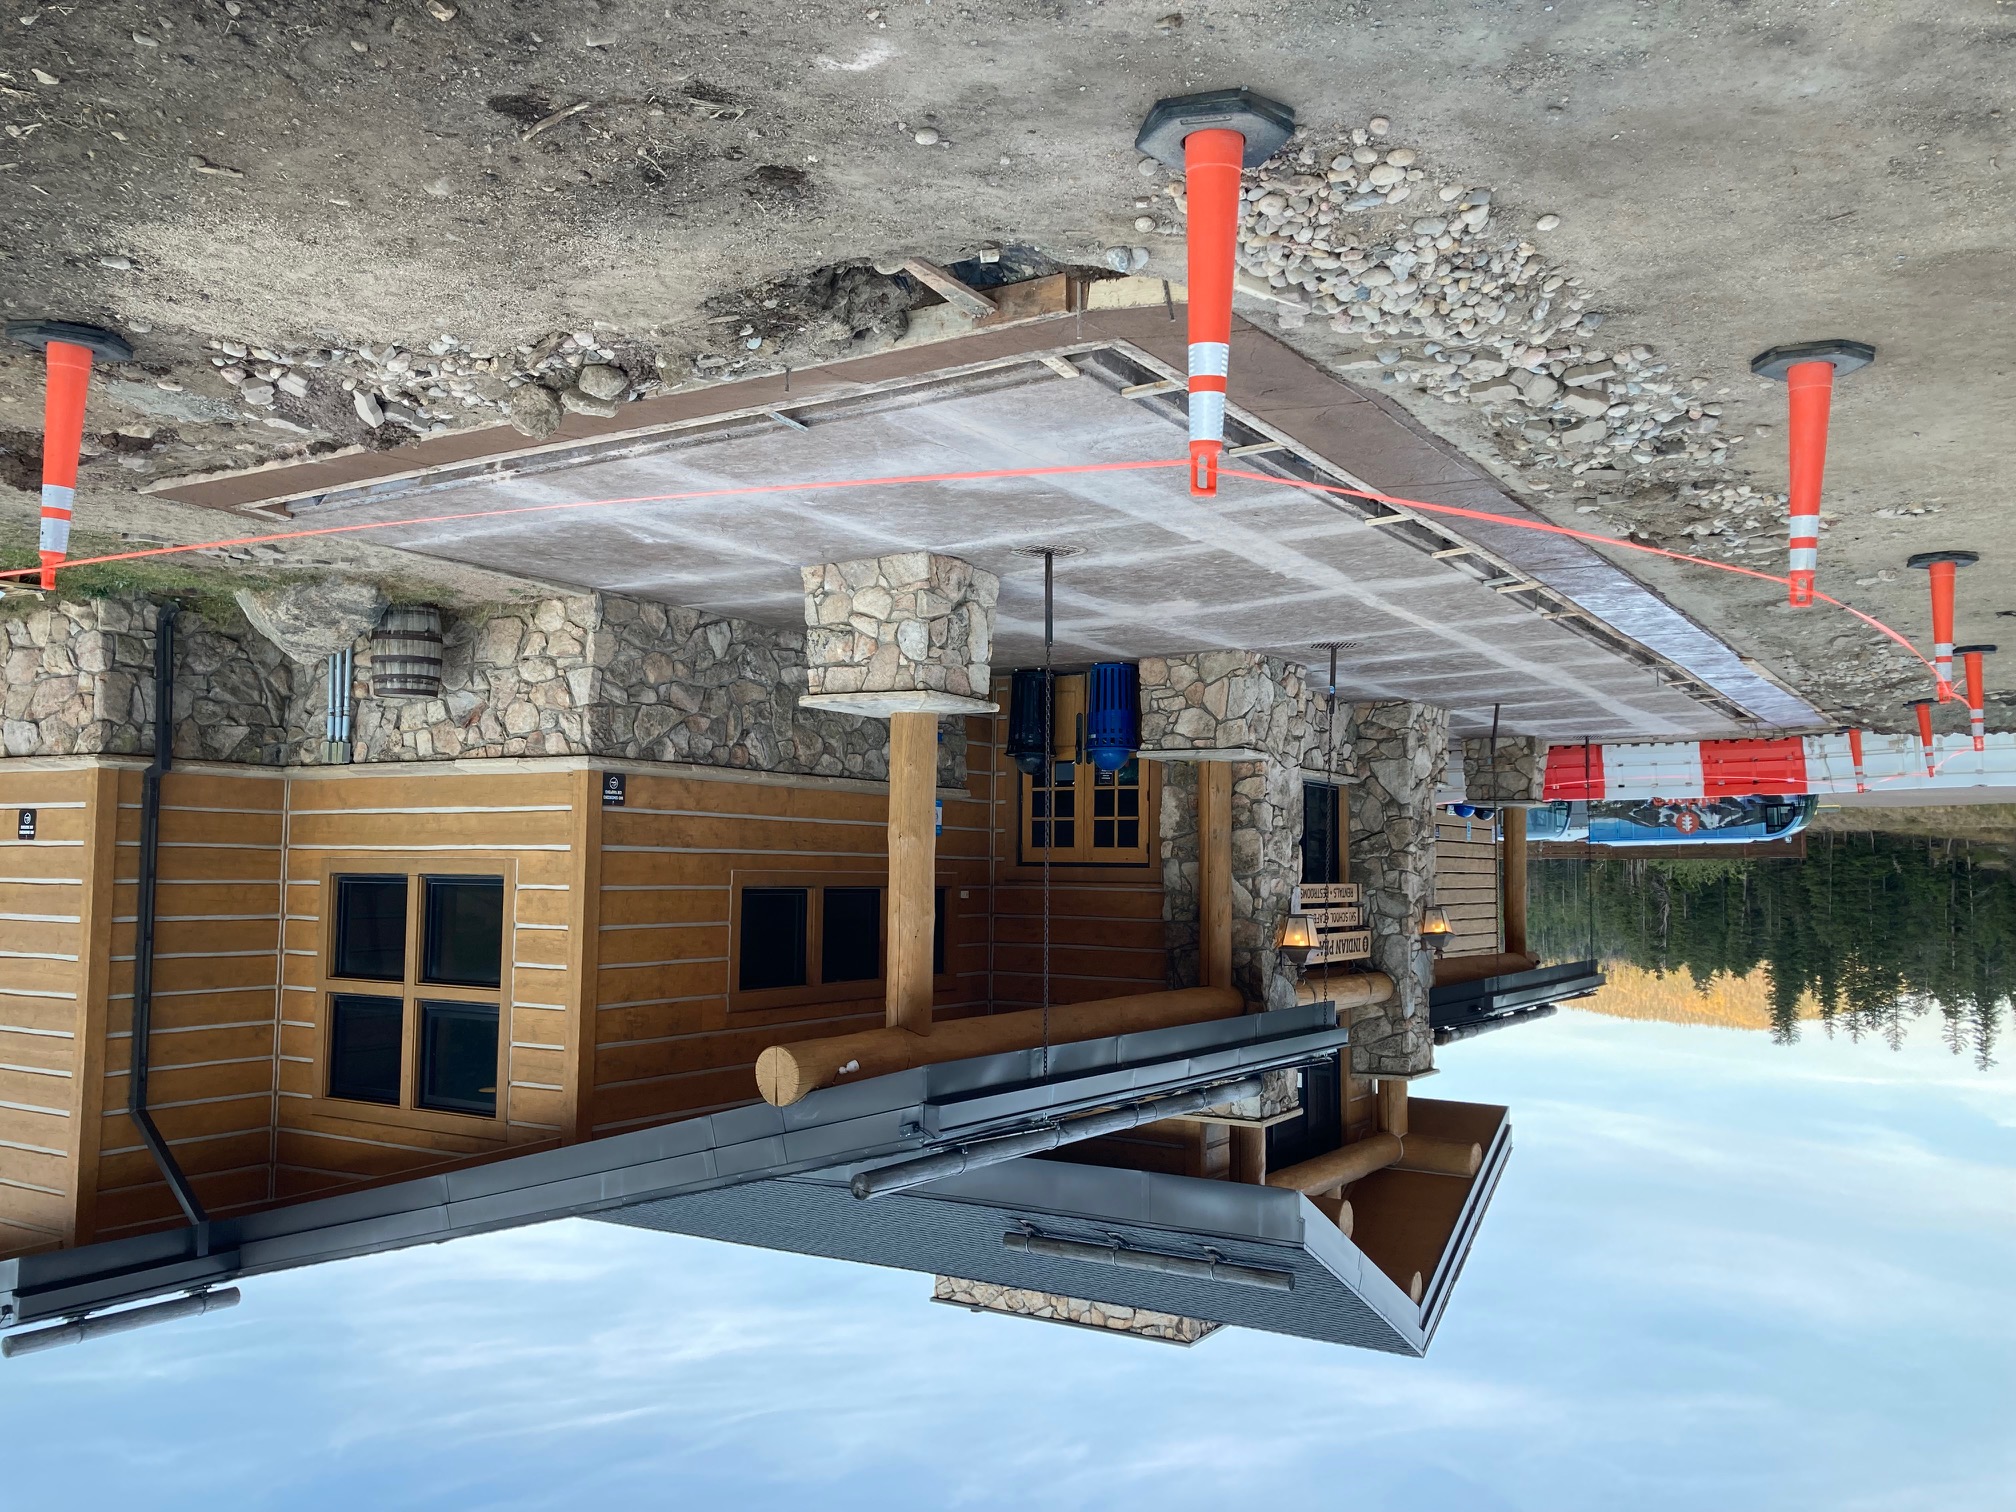
With our base graded, compacted and forms all set, it was time to pour the new stamped and colored entrance to the lodge. Eldora chose to go with a texture stamp, Rawhide 338 for the base color and Walnut 810 for the release. We used a couple of different texture stamps because of the large surface area. The colors they chose accents the lighter brown wood building and tan/sand colored stone on the pillars/base of the building. Click here to view concrete colors
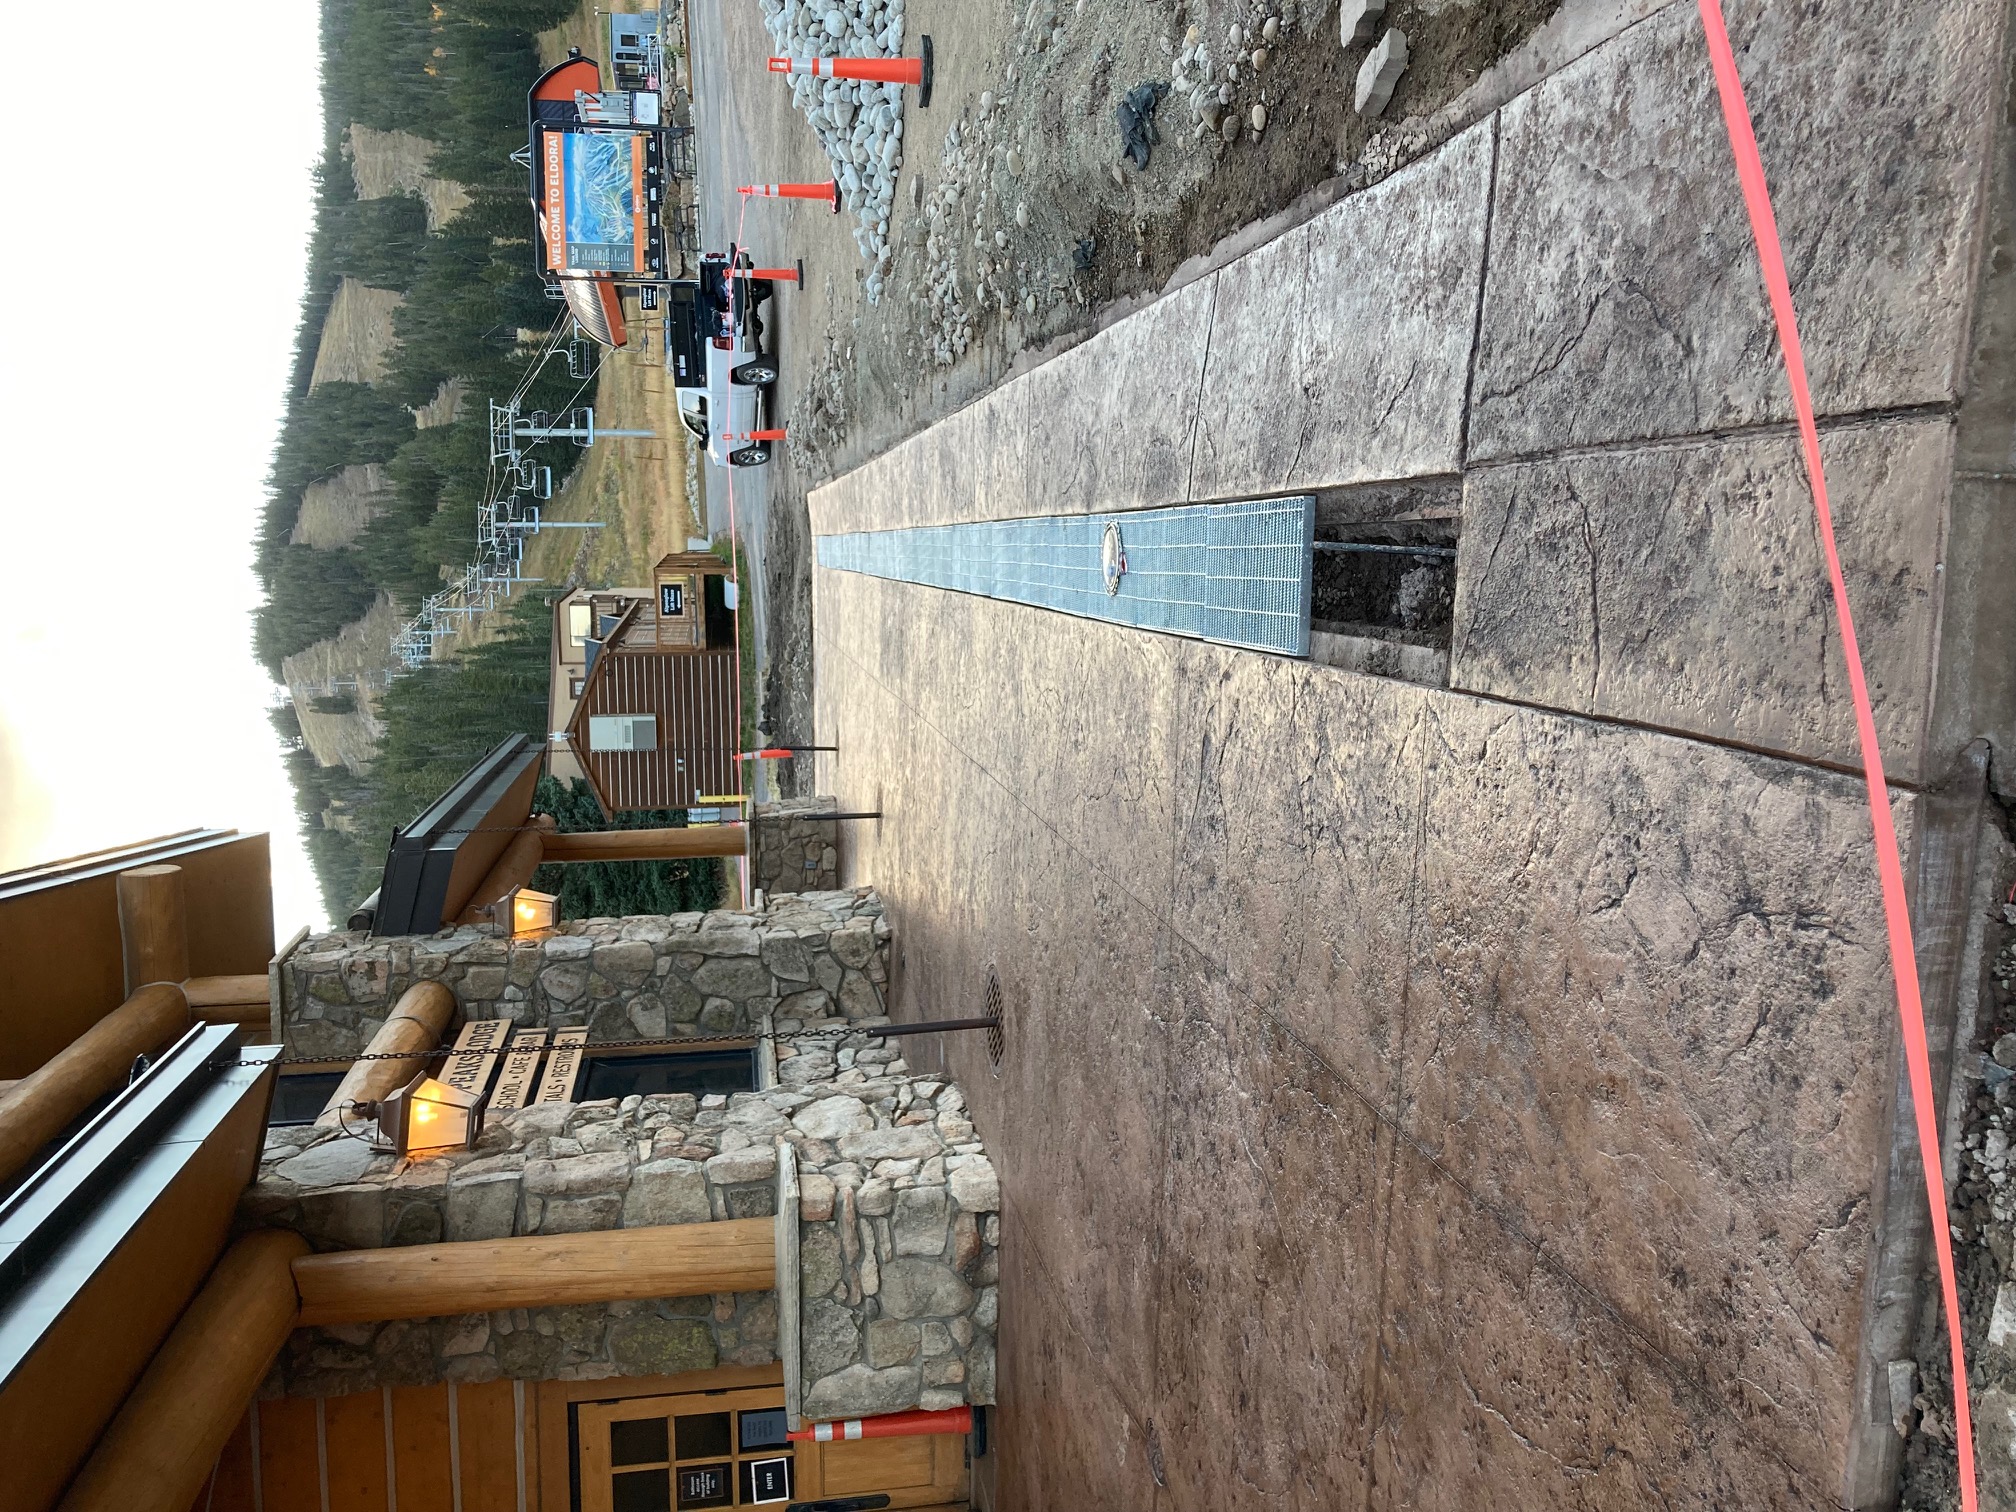
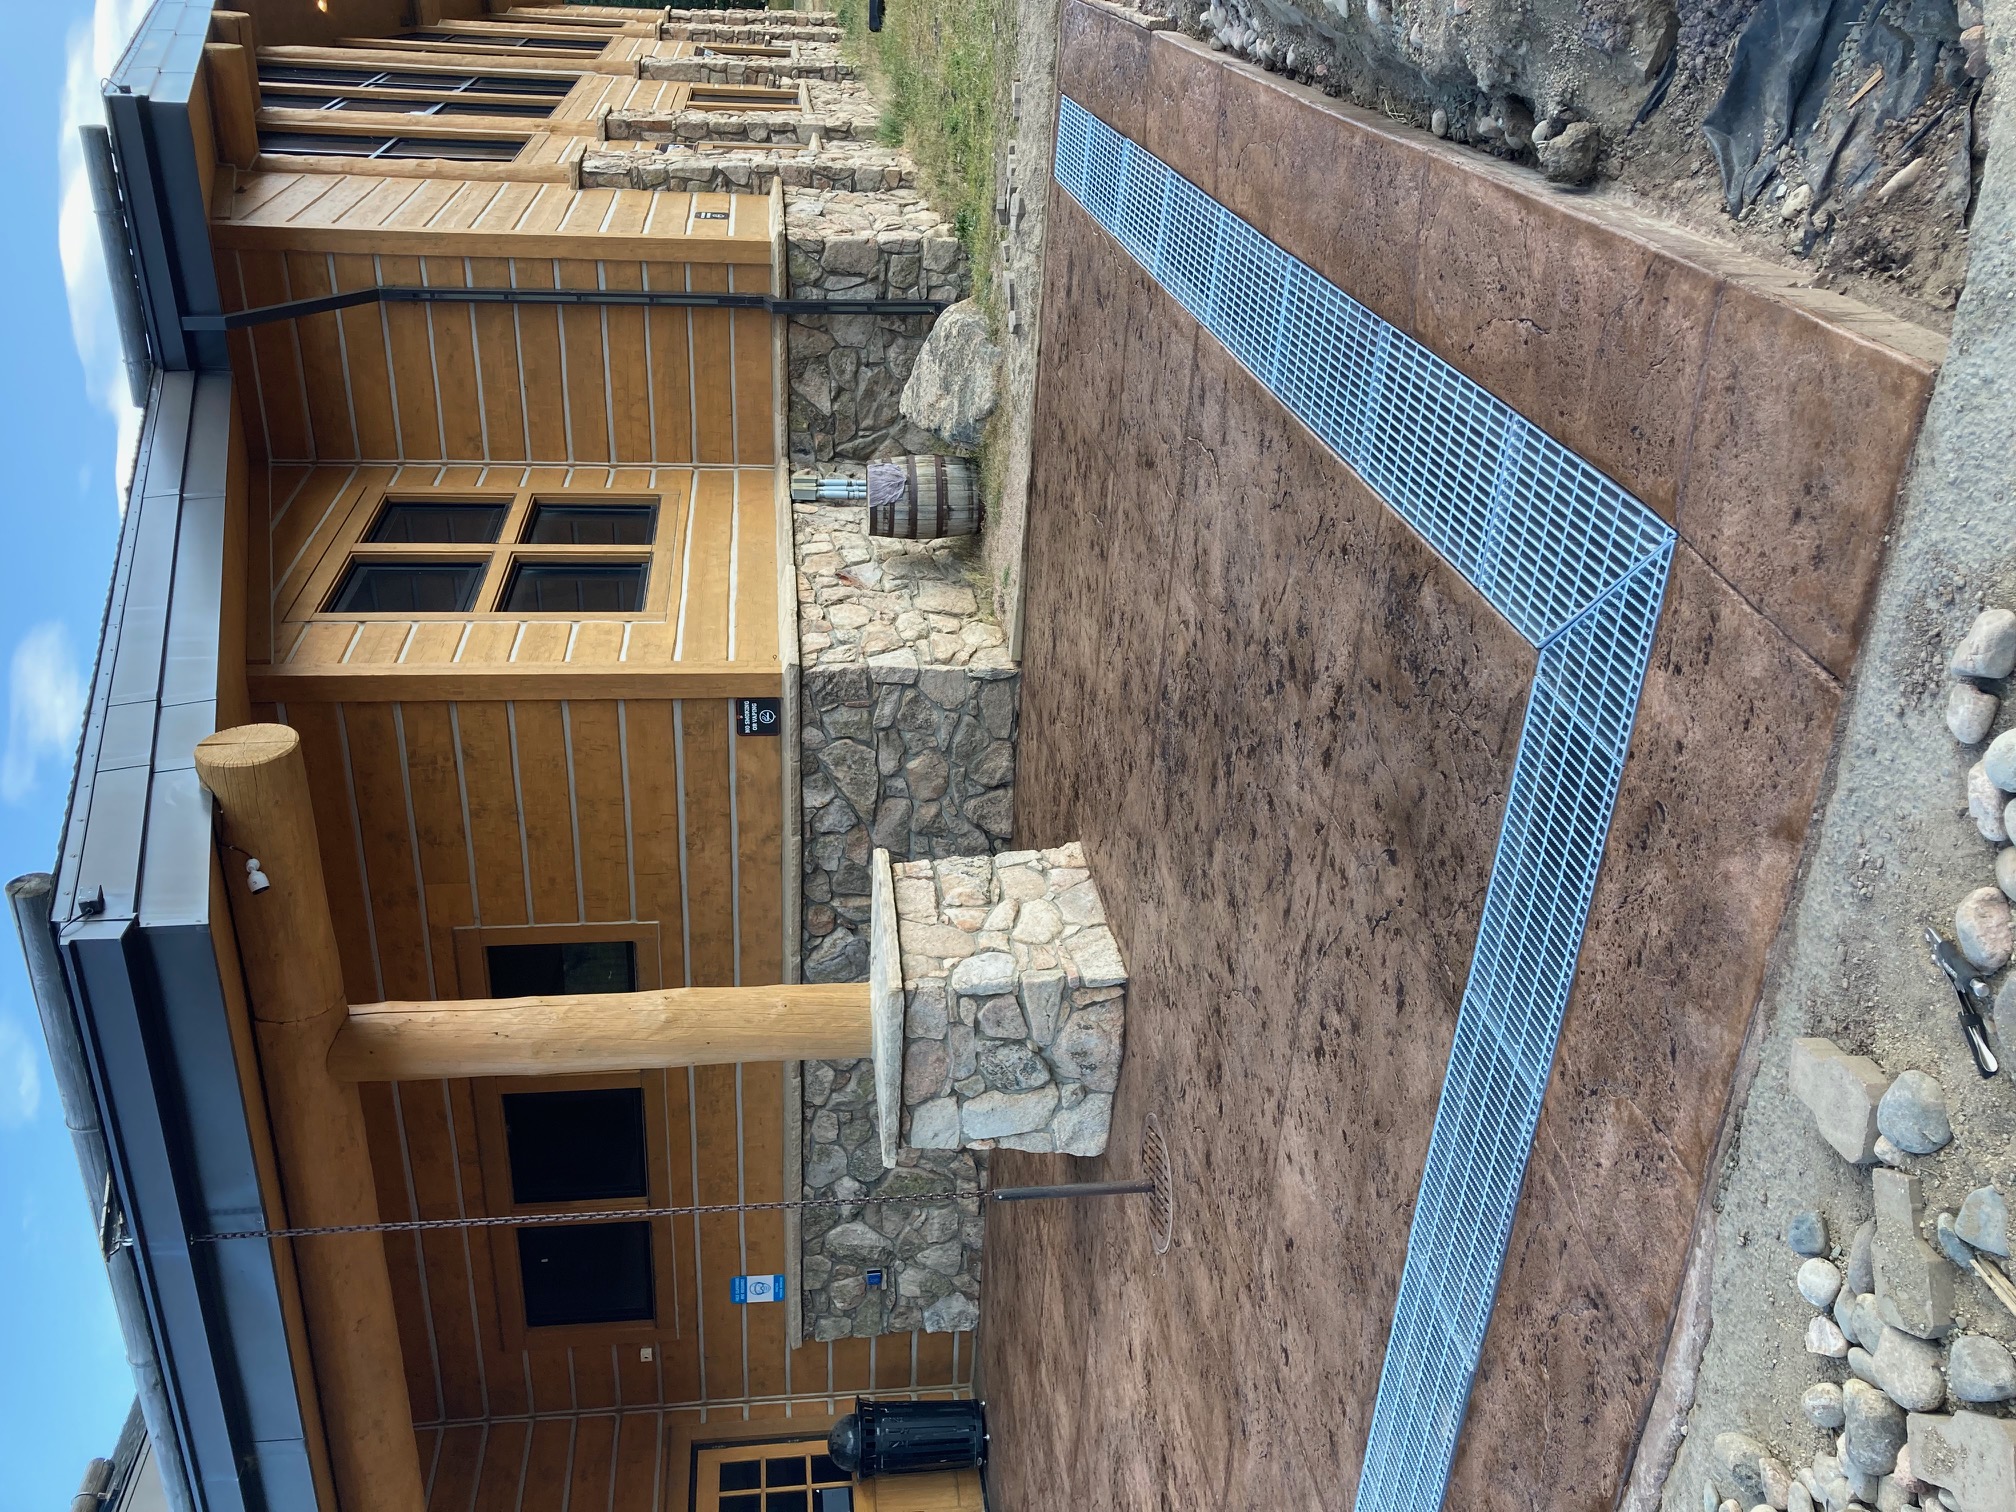
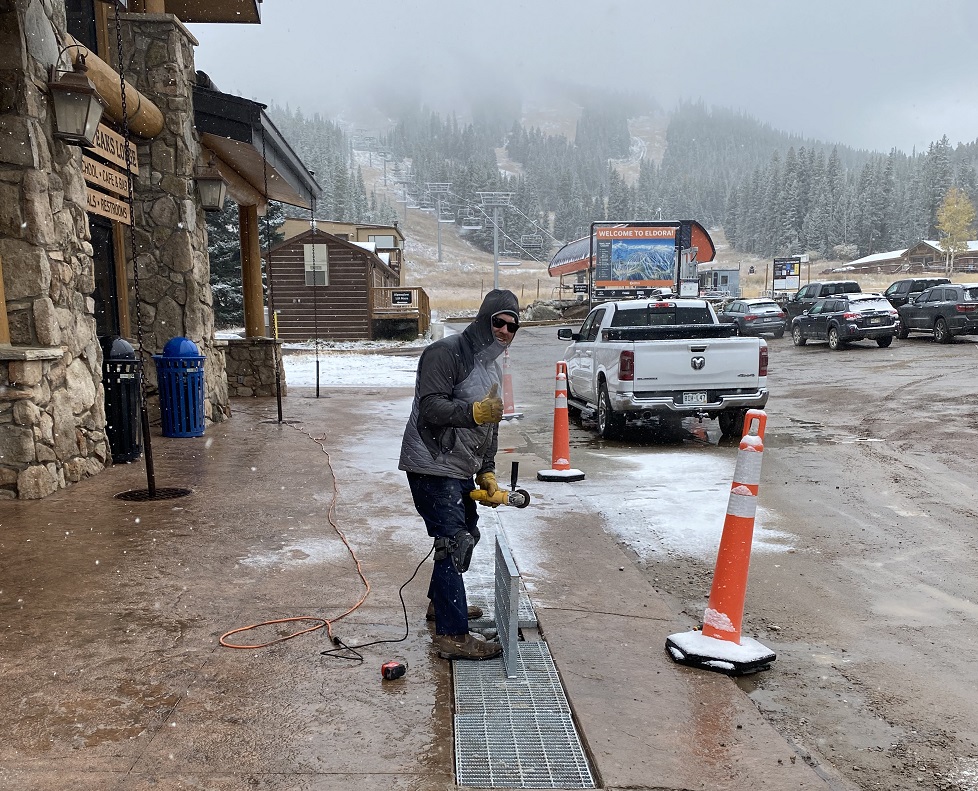
Once the pour was completed, we needed to saw cut our joints lines and seal the concrete. After sealing it was time to set the grates. The grates themselves are quite heavy so fastening them down would not be required. We did need to grind a few down and cut one in half to fit perfectly. This is a project we will always be proud of. It took brain and muscle power to get this stamped concrete project completed!
Click here to see more of our stamped concrete project
